Credits
Every photograph on this site
Licences were checked on each Wikimedia Commons file page on 17 November 2026. CC BY-SA images are used on the website only, and are not placed in the downloadable fact sheets.
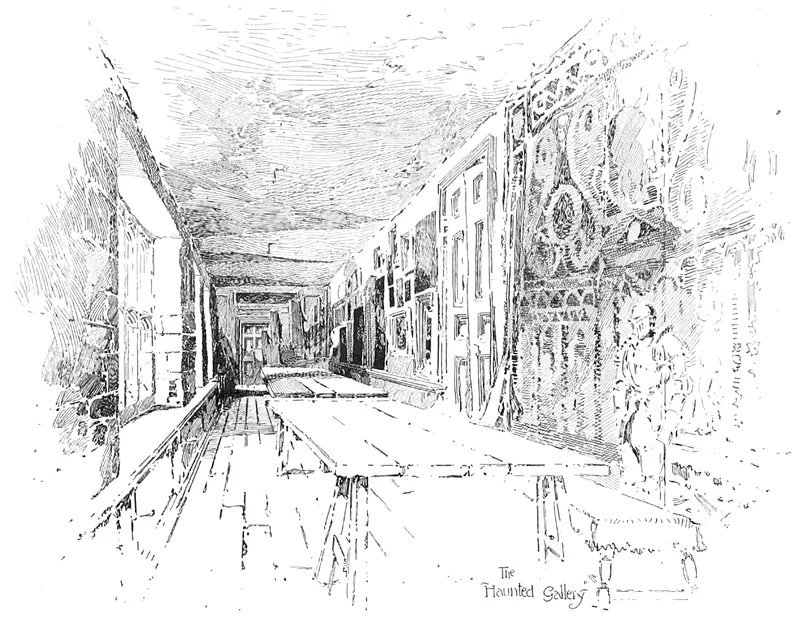
The Haunted Gallery at Hampton Court Palace, illustrated by Herbert Railton in 1897. This is a book illustration, not a photograph of a ghost. Historic Royal Palaces notes that early 1900s postcards were faked double-exposed photographs offered as ‘proof’. The file is in the public domain. Illustration: Herbert Railton, 1897 · Public domain · Wikimedia Commons 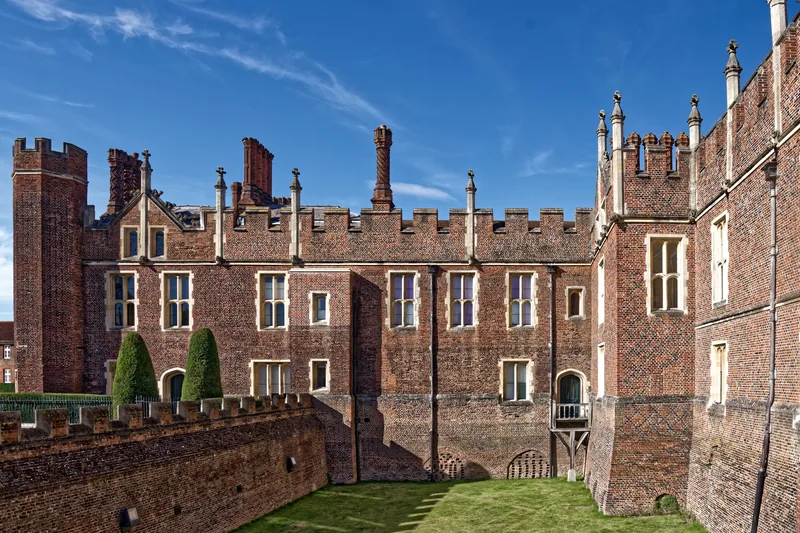
The west front of Hampton Court Palace, photographed by Tilman2007 on 23 August 2023. The file is CC BY-SA 4.0 and is used on the website only, not in the typographic fact sheets. Photo: Tilman2007, 23 August 2023 · CC BY-SA 4.0 (website only) · Wikimedia Commons 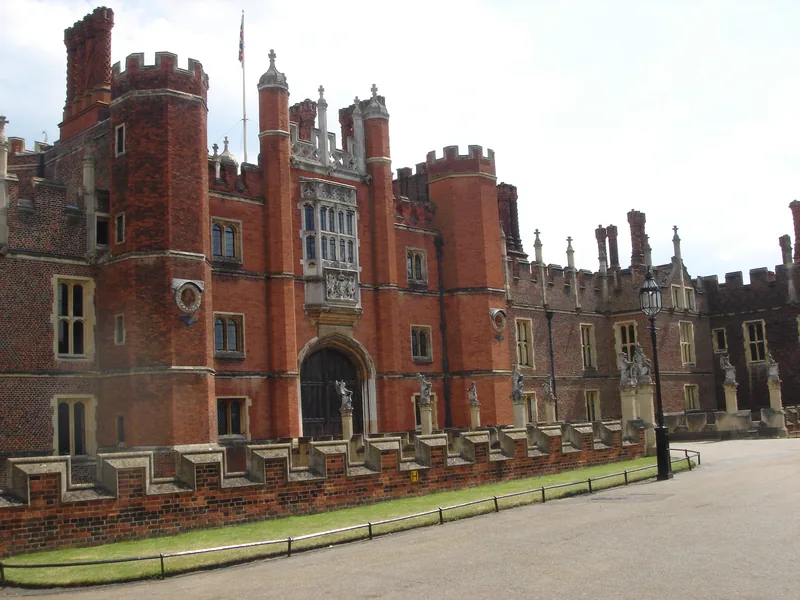
Hampton Court Palace, photographed by Daniel Newman on 27 July 2008. The file is in the public domain. Photo: Daniel Newman, 27 July 2008 · Public domain · Wikimedia Commons 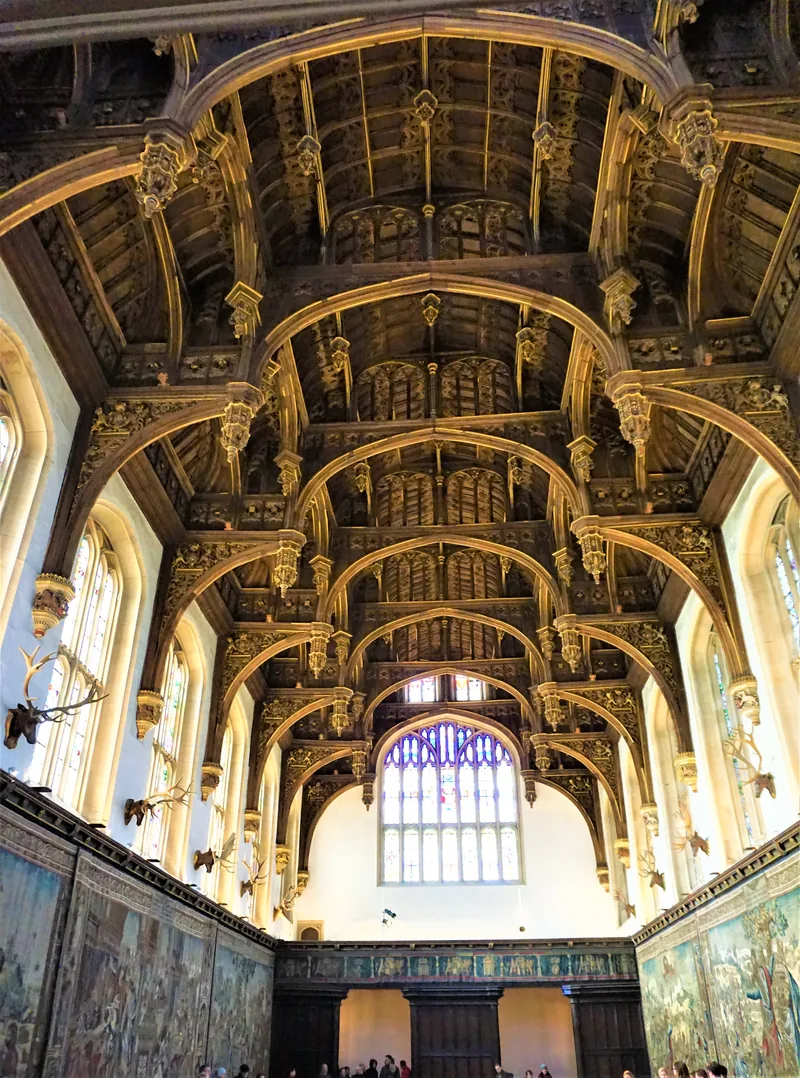
The Great Hall at Hampton Court Palace, photographed by Joyofmuseums on 30 December 2017. The file is CC BY-SA 4.0 and is used on the website only. Photo: Joyofmuseums, 30 December 2017 · CC BY-SA 4.0 (website only) · Wikimedia Commons 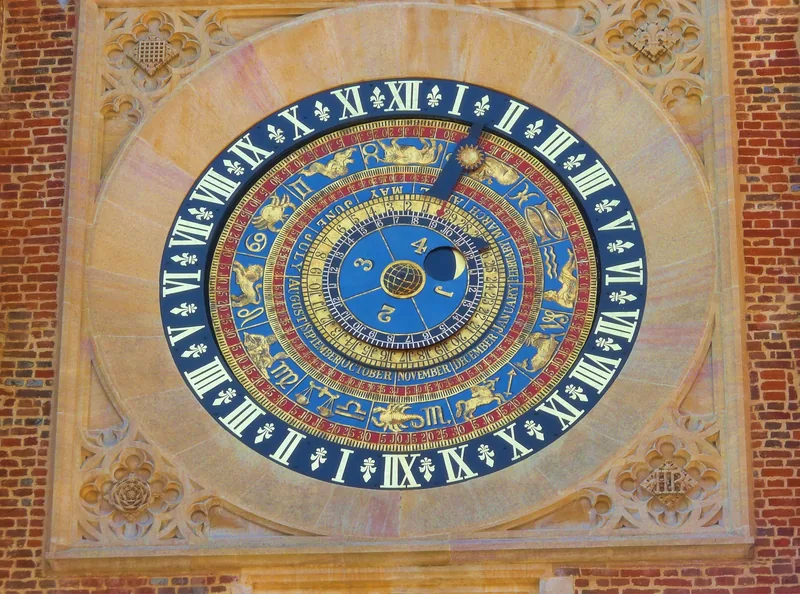
The clock in Clock Court at Hampton Court Palace, photographed by Mike Cattell on 11 April 2010. The Wikimedia Commons file is titled Hampton Court Astrological Clock. The file is CC BY 2.0. Photo: Mike Cattell, 11 April 2010 · CC BY 2.0 · Wikimedia Commons 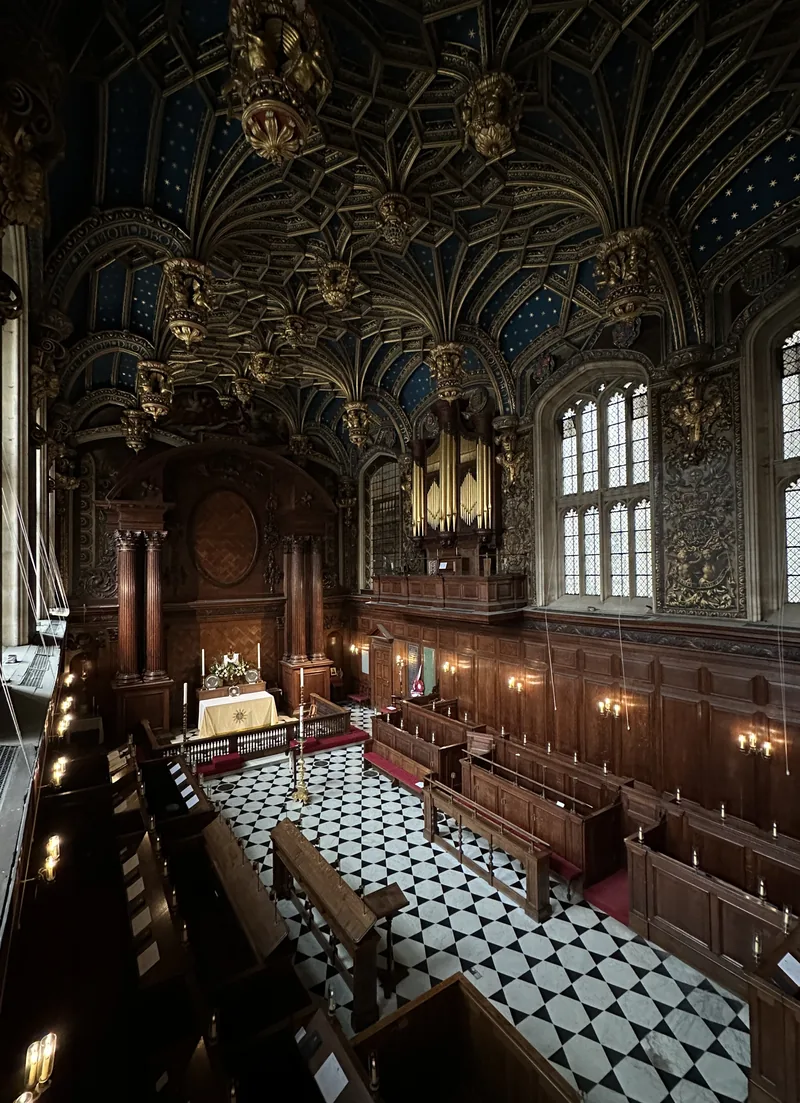
The Chapel Royal at Hampton Court Palace, photographed by APK. Historic Royal Palaces invites visitors to walk Henry VIII’s route from his private apartments to the Chapel Royal. The file is CC BY 4.0. Photo: APK · CC BY 4.0 · Wikimedia Commons 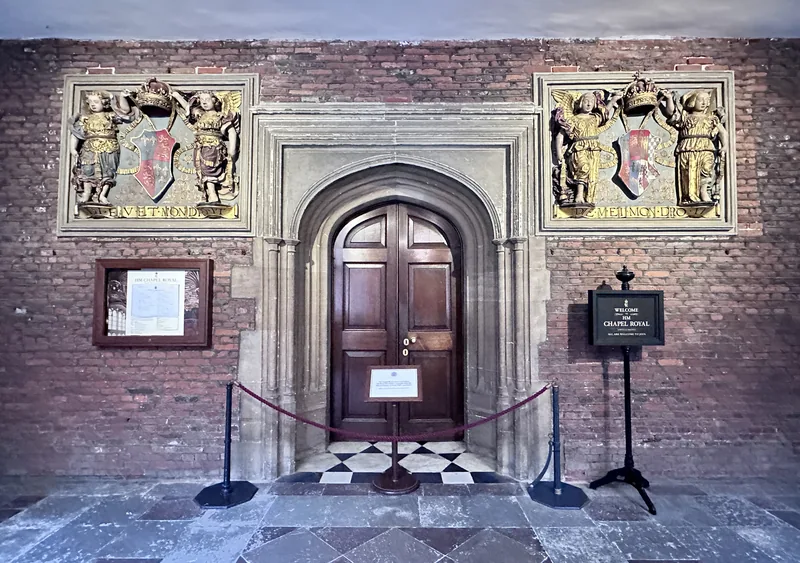
The door to the Chapel Royal at Hampton Court Palace, photographed by APK. On the official gallery page, a legend says Catherine Howard ran toward this chapel and was seized just before the door. The file is CC BY 4.0. Photo: APK · CC BY 4.0 · Wikimedia Commons 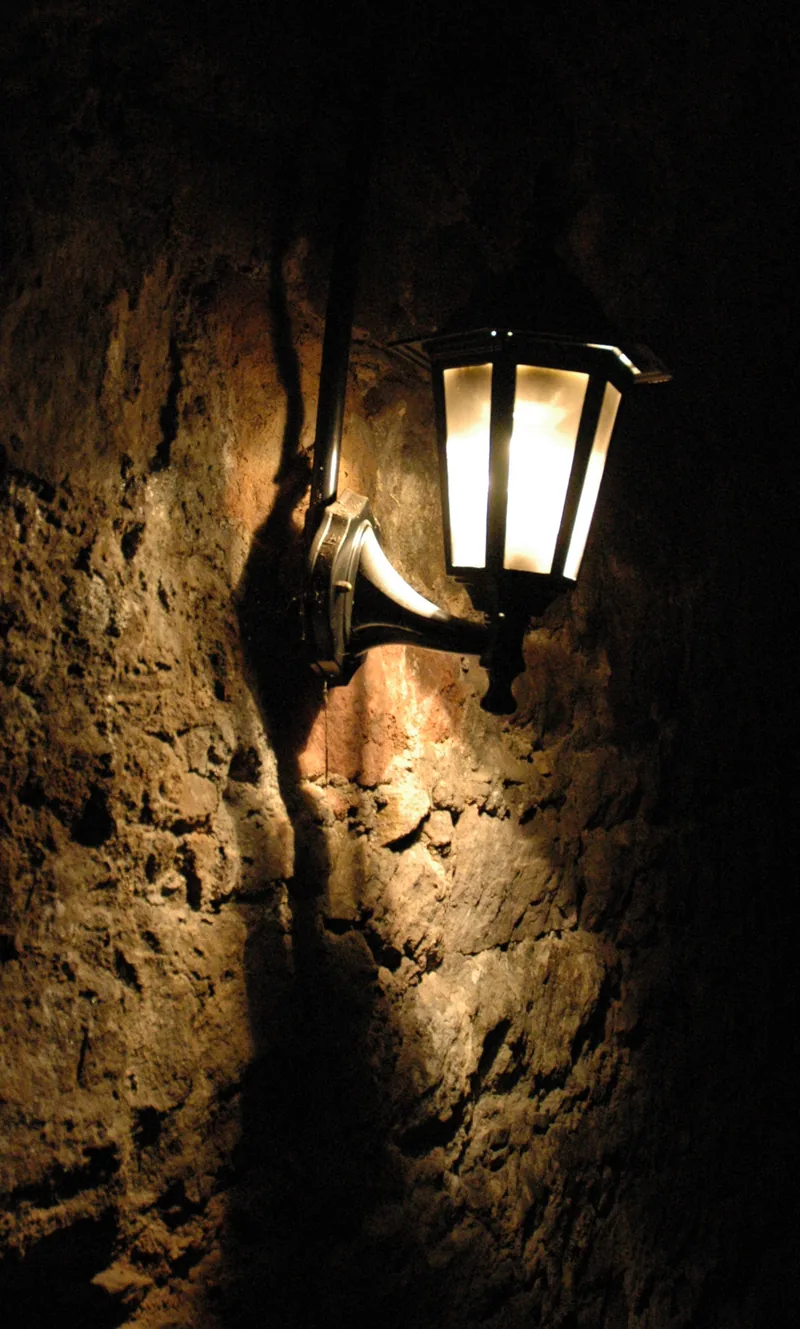
A chamber in the Edinburgh vaults, photographed by Kjetil Bjørnsrud in 2005. The Commons filename is Edinburgh_valuts_1.jpg, with a typo in ‘vaults’. The 2003 paper’s second experiment took place in ten of the South Bridge Vaults. The file is CC BY 2.5 and is used on the website only. Photo: Kjetil Bjørnsrud, 2005 · CC BY 2.5 (website only) · Wikimedia Commons 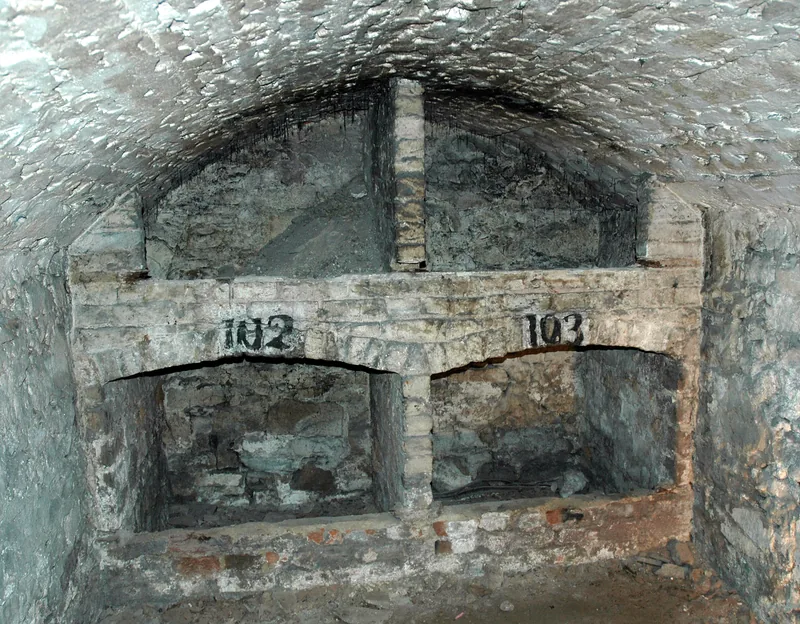
A second view of the Edinburgh vaults, photographed by Kjetil Bjørnsrud in 2005. The Commons filename is Edinburgh_valuts_2.jpg. The file is CC BY 2.5 and is used on the website only. Photo: Kjetil Bjørnsrud, 2005 · CC BY 2.5 (website only) · Wikimedia Commons 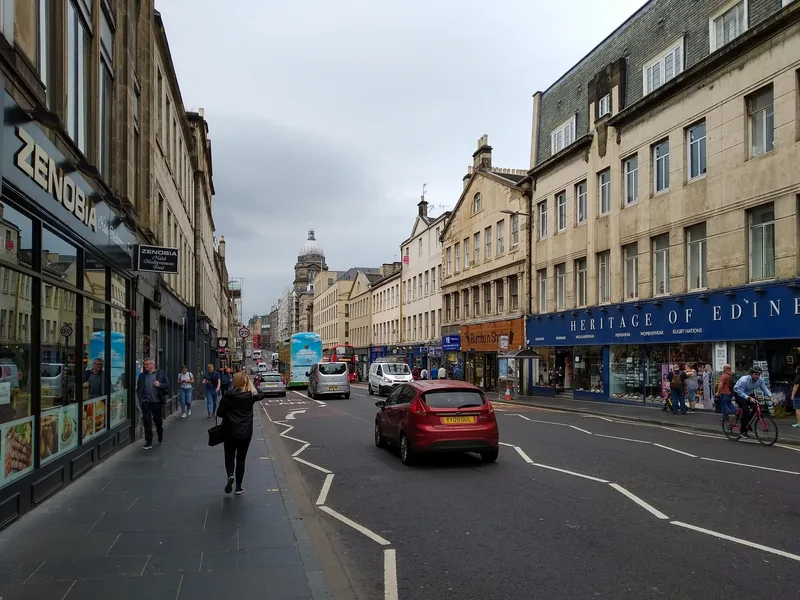
South Bridge, Edinburgh, photographed by Matti Blume. The 2003 paper’s second experiment was conducted in ten of the South Bridge Vaults. The file is CC BY-SA 4.0 and is used on the website only. Photo: Matti Blume · CC BY-SA 4.0 (website only) · Wikimedia Commons 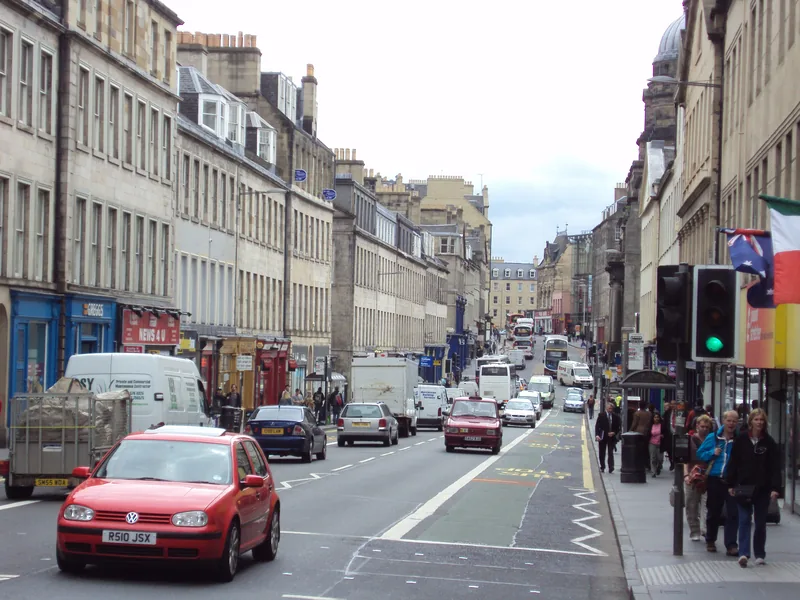
South Bridge, Edinburgh, photographed by Rept0n1x. The file is CC BY-SA 3.0 and is used on the website only. Photo: Rept0n1x · CC BY-SA 3.0 (website only) · Wikimedia Commons
Enjoyed this hauntings desk?
No pop-ups. No intrusive advertising. Just interesting stuff. A little support helps the next unexplained.im site get built.